Saturday, February 27, 2010

Strobes+Wall Jumps = Fantastic Photos!

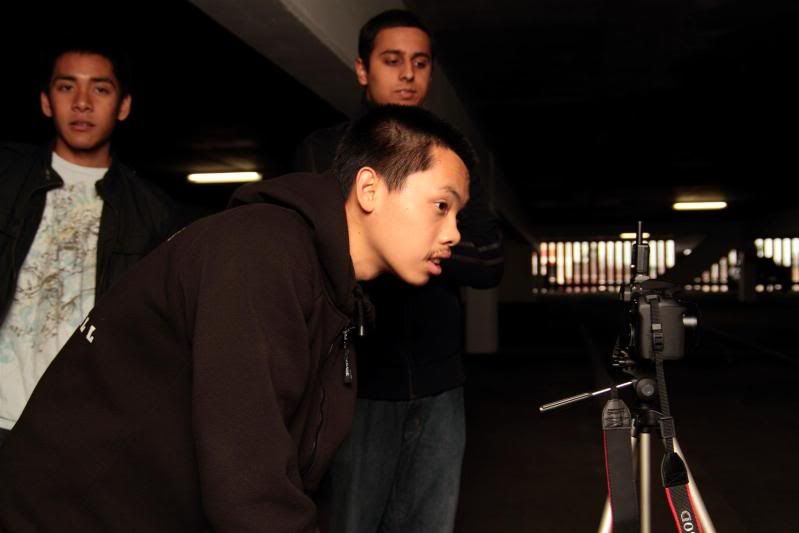
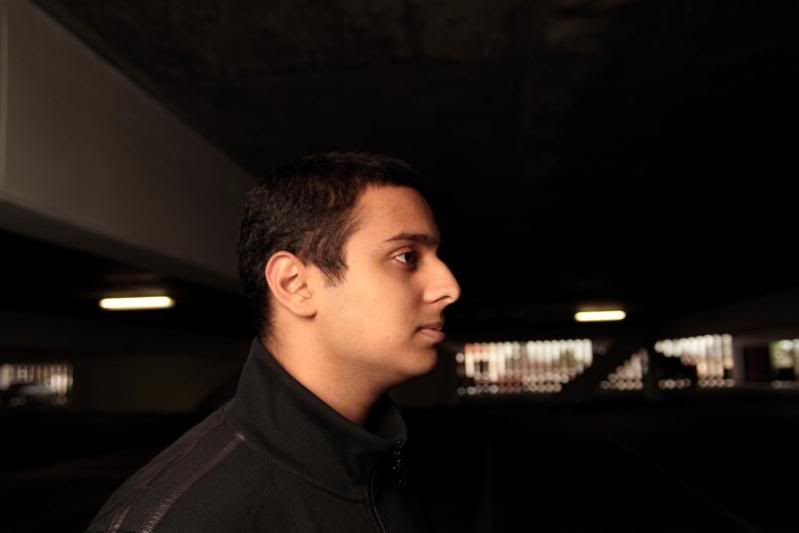
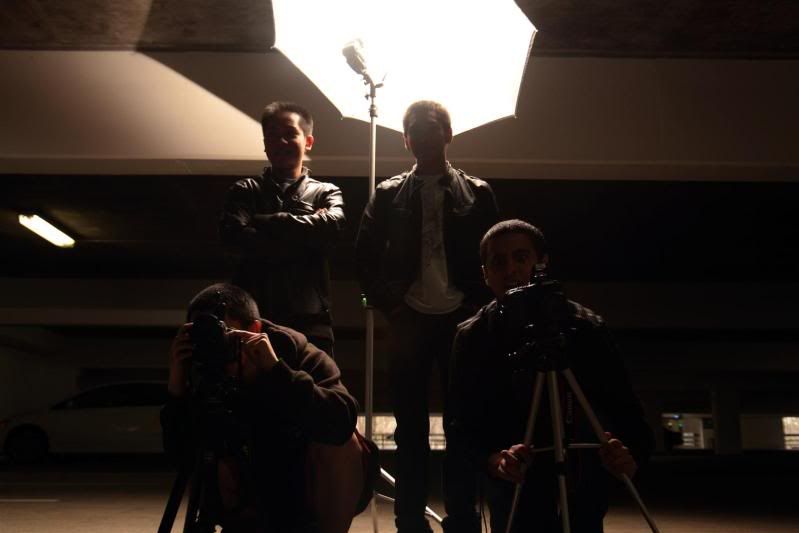
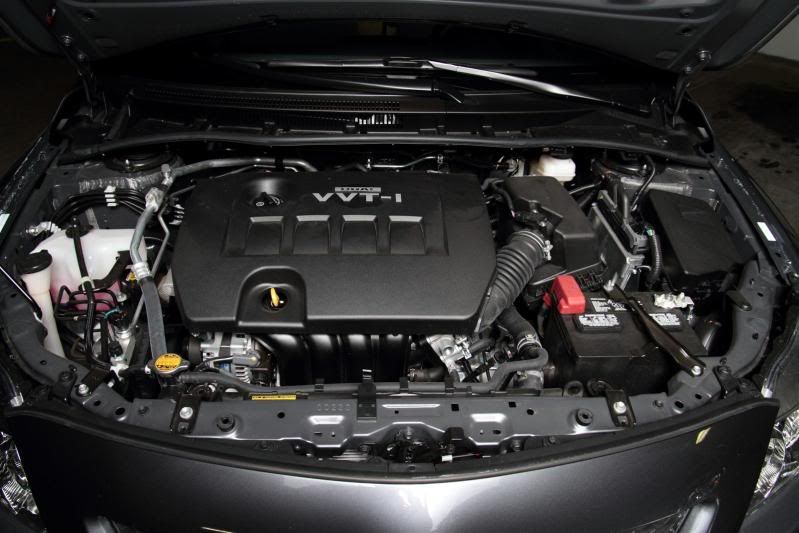
Recently I went out with a few friends to help them learn how to use their own cameras. I should of taken more photo's but I was on a roll giving some great information on how to take flash photo's like I do. Today's models was our cars, but I thought that was not as interesting as taking photos of people. Here are some of my shots of the good, bad, and some experimentation.

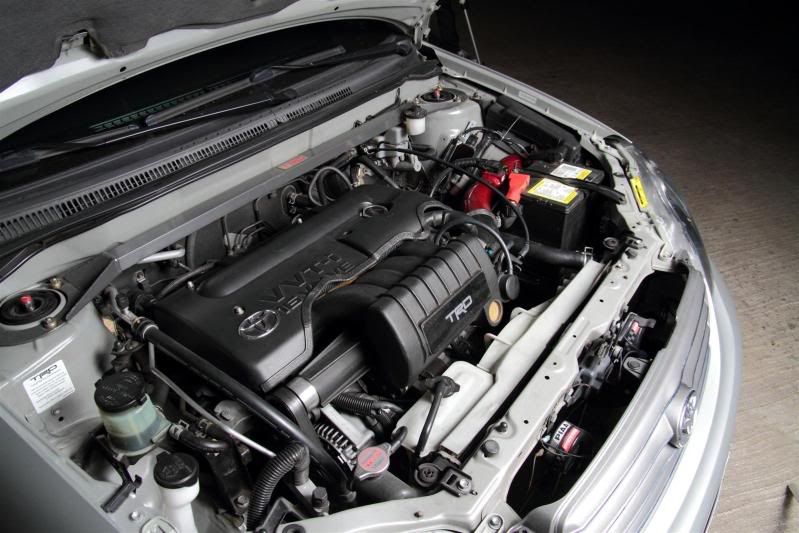
1/60 f3.5 ISO100 580ex in 60" Umbrella ETTL

1/60 f3.5 ISO100 580ex in 60" Umbrella ETTL

1/60 f3.5 ISO100 580ex in 60" Umbrella ETTL

1/60 f3.5 ISO100 580ex in 60" Umbrella ETTL

Out of all these photos only two were of cars for my friends engine and my own. This was taken using one 580ex in a 60" at 1/8th power  with my camera right under the umbrella. This gave me as much soft light I could of achieved  with an umbrella.

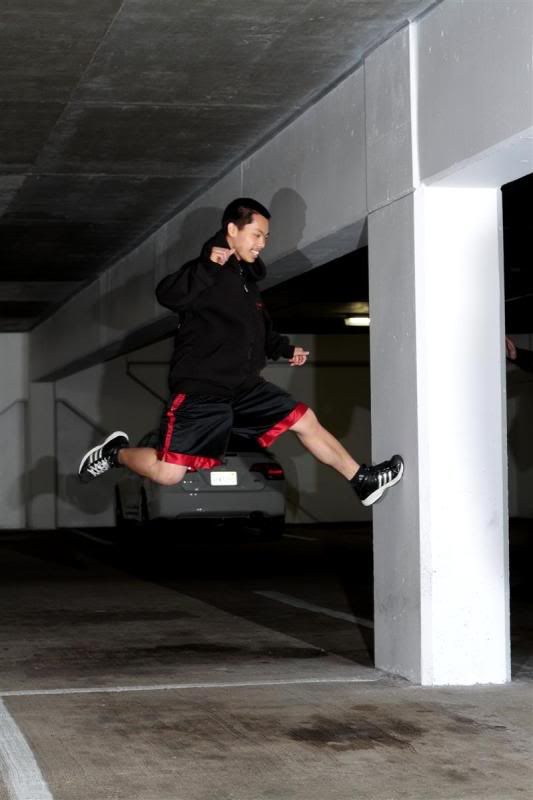
 1/60 f5.6 ISO400

1/60 f5.6 ISO400

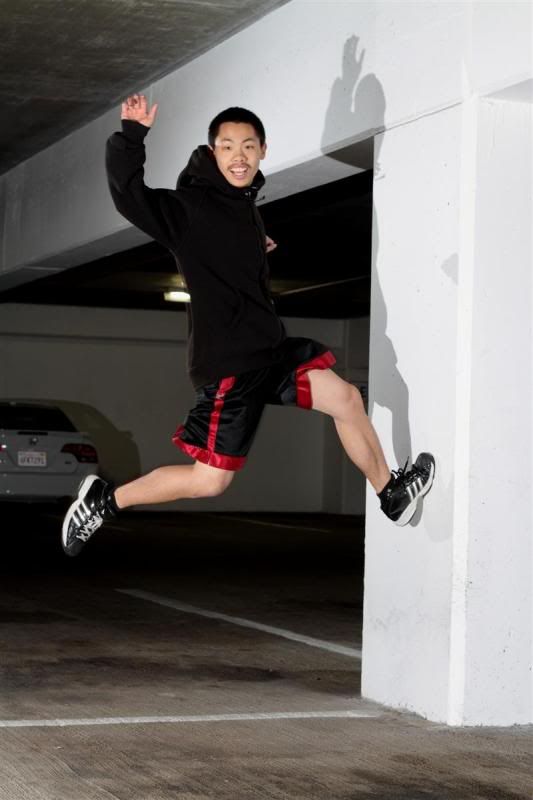
Suddenly my friend Arlin decided to do some jump shots. Instead of the usual stand then jump when you give the cue, we did ACTION running shots! To try these, we use all three flashes I had. One 580ex at 1/16 aimed at the pillar, one sb-28 camera left at 1/8th power to the side of Arlin, and one sb-28 camera right at Arlins face. Not bad for a quick shot before I had to go to work!

 
1/60 f5.6 ISO400

 
1/60 f5.6 ISO400


Hope you all like the attempt! Stay tuned! 

Friday, February 26, 2010

My Desktop Studio = Neat Portrait Pictures?

After some tinkering with my new rig, yes it is! Actually it is a no brainier, but some might fail to realize what other uses their gear, or rigs could do for them other than the intended purpose it was created. In the last entry I showcased my new set up for product photography, and after having a meeting with my client for the Flashing Panda product shoot, trying new set ups, I almost got burnt out and wanted to quit this deal! Honestly, the deal with product photography is to have consistent photos, but with many different products it is hard to attain and me not being an editor it is hard to get it all done on camera without doing much post processing that I dislike! (yuck!!!)

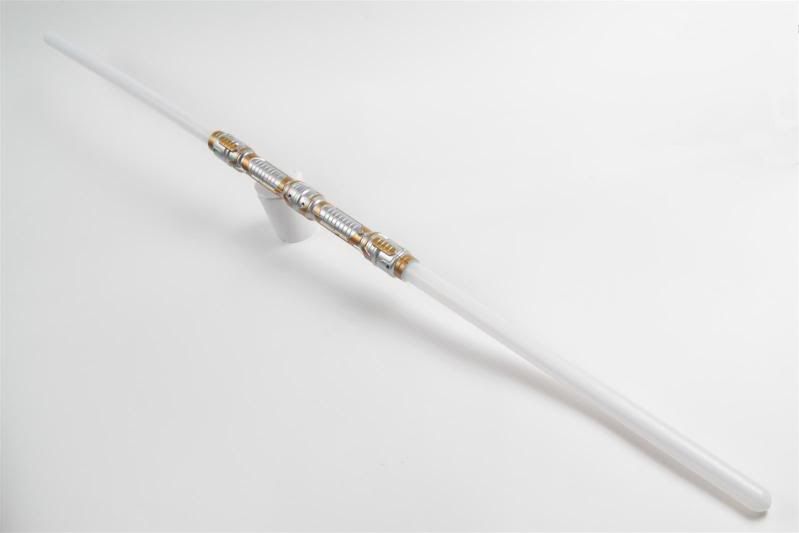
After some tinkering, I came up with some neat photo techniques to take products of large items! Also I have been getting better backgrounds! But still needs more tweaking and I must share this progress of this sword because it by far was the most difficult to photograph!

1/50 f8 ISO250 Flash power 1/8:1/4

But really the breakthrough in taking pictures of large objects wasn't the reason of this post, it is portraits! My system, If you kick out the table, and let the paper hang is good enough for close up portraits of anything! Here is the rig raised to about 6 feet to give me a nice white backdrop! 


After setting this up all my stress just melted away and I had fun once again taking photo's of myself and got ideas for future works. It honestly works really well. Here is a quick dirty picture of my ugly mug after 3 hours strait of figuring out new product photography methods.

 
1/60 f4.5 ISO200 Flash 1/8:1/4

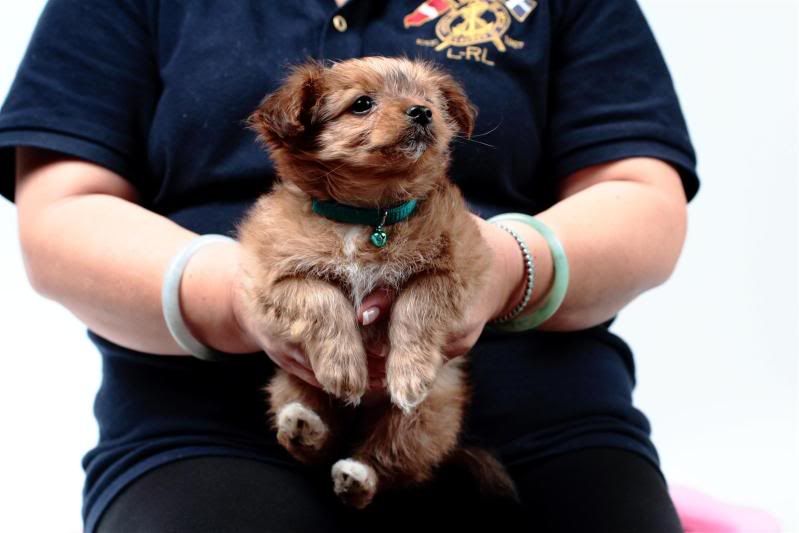
As you can see, it isn't the best picture, it wont win any awards, but it is a start of what can be very interesting for future clients that want these kind of pictures! Recently I got the chance to work with a really hyperactive dog my friend recently adopted for her daughter! This was really quick and dirty since she came to show me last min, and wanted me to just take a picture to have some first memories of the new puppy!

1/80 f4.5 ISO 400 Flash 1:16:1/16
Note: ISO is 400 due to flash being so low and I didn't want to waste time setting the flash settings, instead raised ISO from 200 to 400 to get the right exposure.

This was a really fun experience to have! Having this paper is so wonderful to use because it really gets you focused on anything that isn't white. This background can also be different colors of gray to black, depending on how far the background is from the subject, another +1 to the usefulness of white stemless paper. Make a rig yourself guys! Its very nice tool to pull off some great shots!

Stay tuned for more updates!

The New Tabletop Studio!

Well allot of time has been going to a new client Dan Odulo that contracted me to do product photography for his small business called Flashing Panda that sell the most neatest LED products for practical and festive events!. Now this is not common to me. Most of the stuff I do again is random, out in the field, not something that is to be uniform and consistent like product photography. That by far is the hardest thing about doing product shots, it is hard to make it a consistent shots to present to the client, but as a photographer, I do what I can!

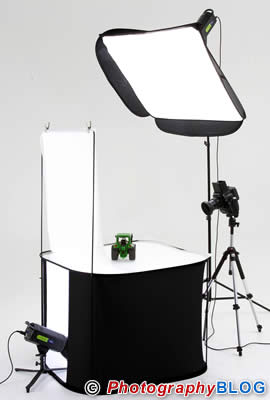
To do product photography the simpliest way to get it done is to use a Light Box or a Light Tent. This give you really consistent results. However being a strobist, my set up is using hot shoe bassed flashes! VERY difficult to work with. The easiest most pain free way to do this is a Light Table with big soft boxes using constant light sources ligh a lamp. This way, if you have a tripod, you aim the lights on the product on top of the table, and light up the bottom of your product under the table, place your camera on a tripod, set up the setting and like an assembly line you churn out one after another of product photos. AMAZING ISNT IT?! Not in my case. I am still honeing my technique but so far the shots are turning out quite neet so far so I must show you my progress!


Remember this picture in the teaser entry to these mass blogs? It this is some of the pieces that I used to make a new rig to do product photography! What is new is some clamps, and a backdrop bar! I did not go for the retail bars you find in photography stores because, c'mon, I'm a starving college student! I must pinch pennies where I can most of the time! Instead I went to my local HomeDepot and purchased a 10 foot piece of galvanized pipe! Now I could use the whole darn thing, but most of this strobe work is for small LED tools and novelty items, so I cut it down to 5ft and purchased a 4 foot roll of white stemless paper to slip over it! Affixed onto my light stands with two Bogen Super clamps onto my 11ft Bogen 3337 light stands, I not have a backdrop! Teamed up with my Manfrotto Nano stands, Nikon Speedlights,60" umbrellas for soft light, and Cybersyncs, I now have a capable desktop studio!


Looks spiffy huh? Its really simple for now. After setting it up, I took a picture of my Canon 580ex to see what it was capable of. Now when you look at this picture, the background could be a little bit brighter or even blown out but that will be next in my series of photographs!

 
1/50 f5.6 ISO400

This shot could be done with much lower ISO, but I had to start somewhere, and I personally didn't want to start will full power pops from my flashes. So far the quality from my 7D is good enough. Some pixel peepers will beg to differ, but in the end the shot is good enough for web use. The strobes are set at 45 degree angles to the left and right of the item looking down. You can easily aim your lights if you are using an umbrella on your units because you can use the shaft as a pointer to aim the light source. If you use soft boxes, just aim it at your product, take a test shot and see what is the result and modify till you are satisfied to start the assembly line of product photography. Shots I believe were taken at 1/8th power from the Nikon SB-28's. Next will be to shoot them at 1/2 power and lower the ISO for final shots.

More updates on my product table will come soon! Stay tunned everyone! If you have any question leave a comment!

Mass Blog Posts Again!!!

I think this is going to be the habit of me for the next couple of entries, mass blogs..... I have been caught up with so much stuff I just cant kick myself to get into the habit of blogging every day! Or at least every day I do try out some photo's because it is so much fun I should share with you all!


Today, I will share a new set up I did to make some neat photos! Stay tuned everyone!

Sunday, February 21, 2010

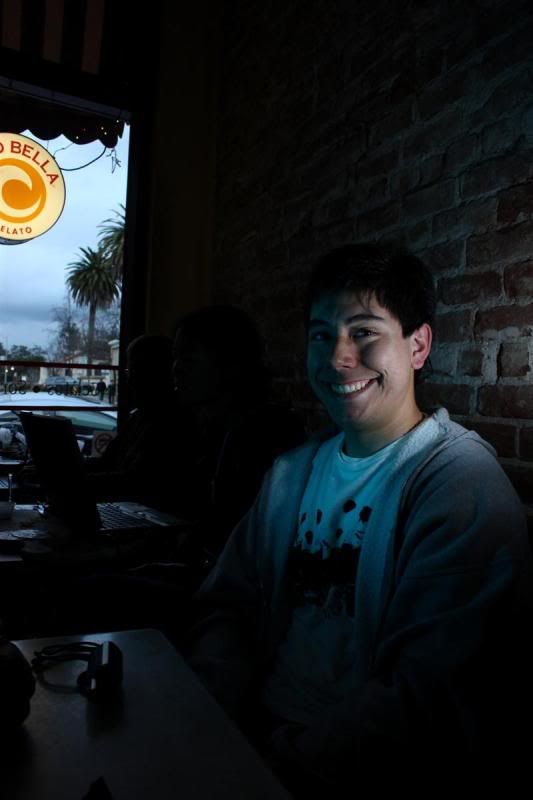
Coffee Store Photo Shoot!!!!

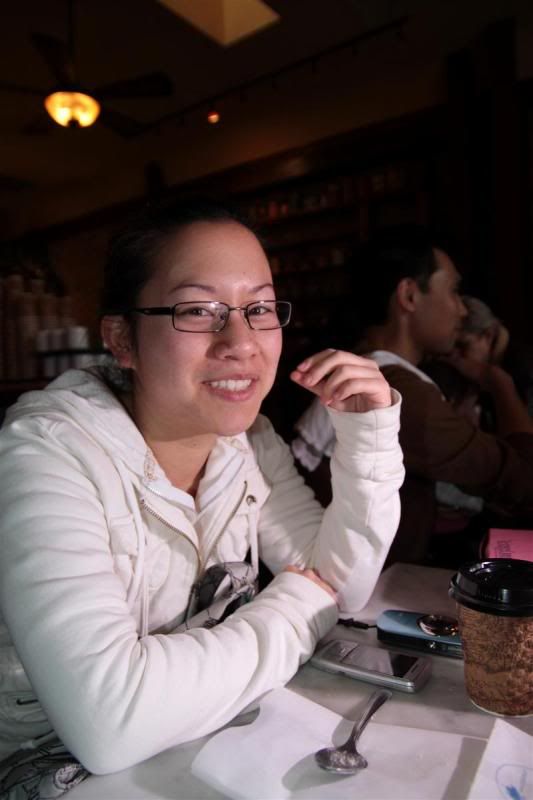
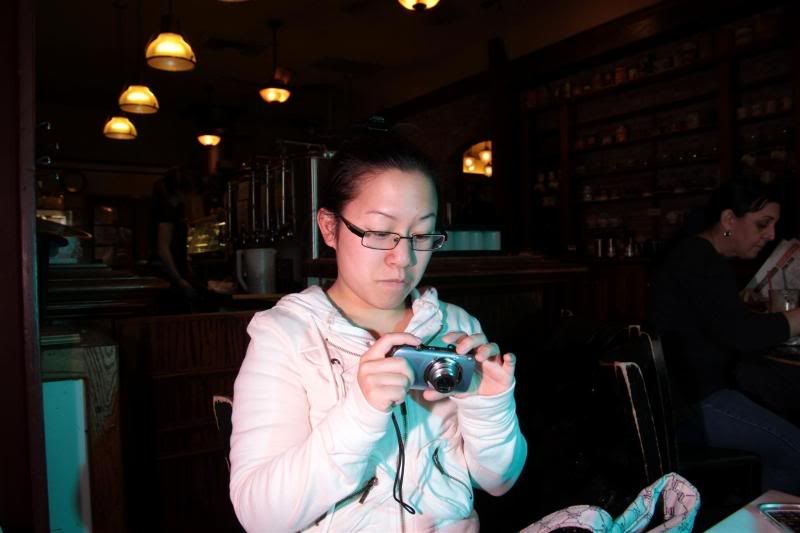
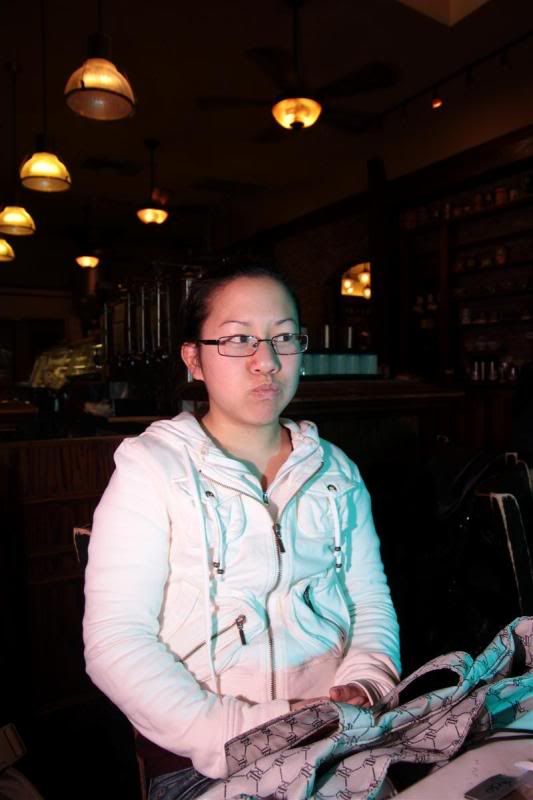
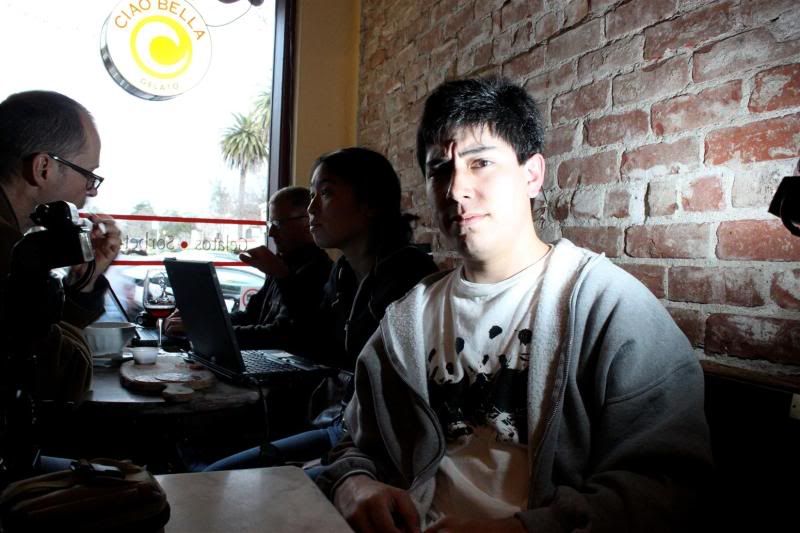
Yep that is right, a photo session inside a darn coffee shop! A Robert Adams first! This day I felt the urge to go out and use my darn camera gear and boy is it great to use my camera again! Today I found myself in Los Gatos, a great small town to go to a cake shop, get a pastry, and go to the local coffee roaster for a a dink to fuel PHOTOGRAPHY!

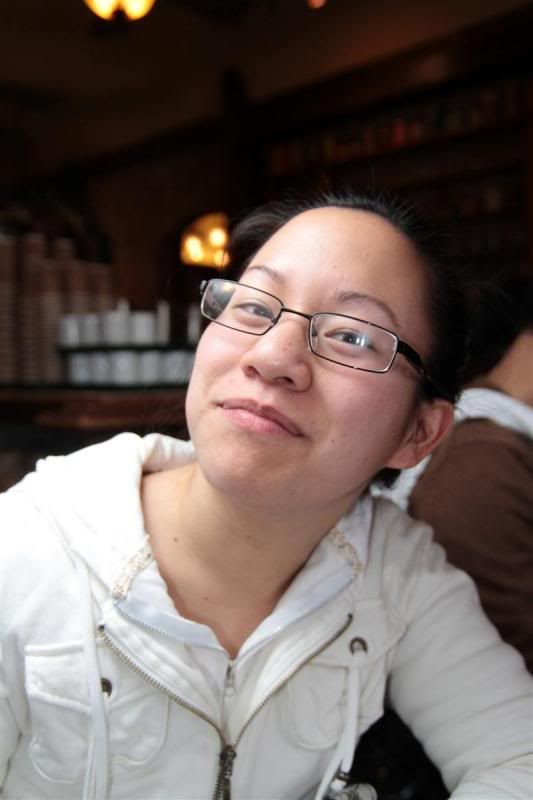
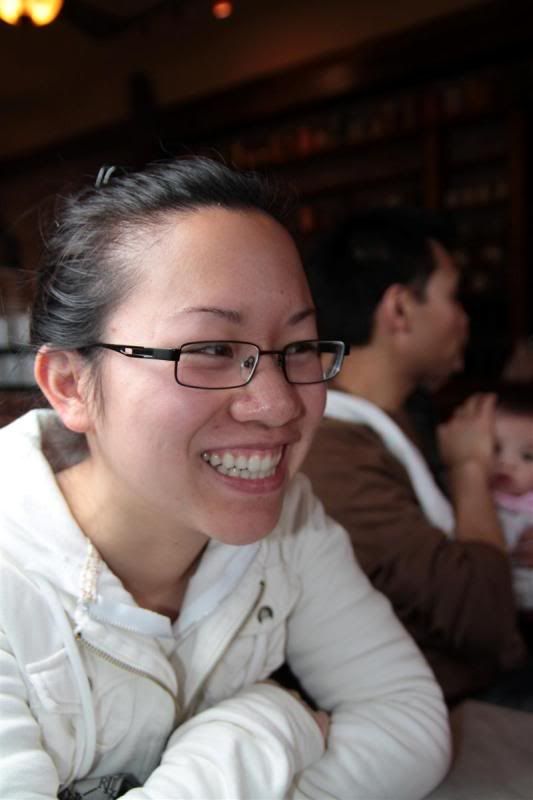
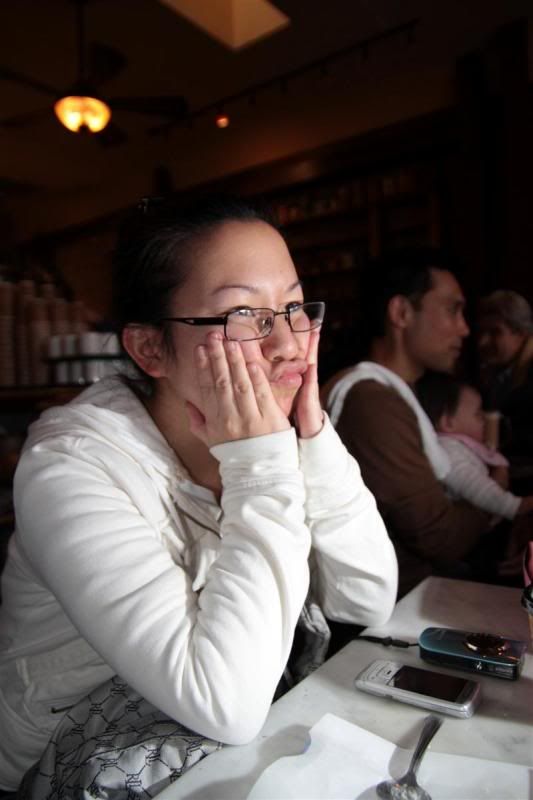
I went with a friend Margaret, a fellow classmate of mine that is artistic and has a interest in Photography and I chose to show her whats up about what I do so she could try out my style crafting a photo! We chose to sit in a corner where there was a long bench, cramped table space, and a scarce amount of chairs in a corner of a store...Not the best location but I didn't let that stop me!

 
Clamped to the bench on the wall. Later hand held!

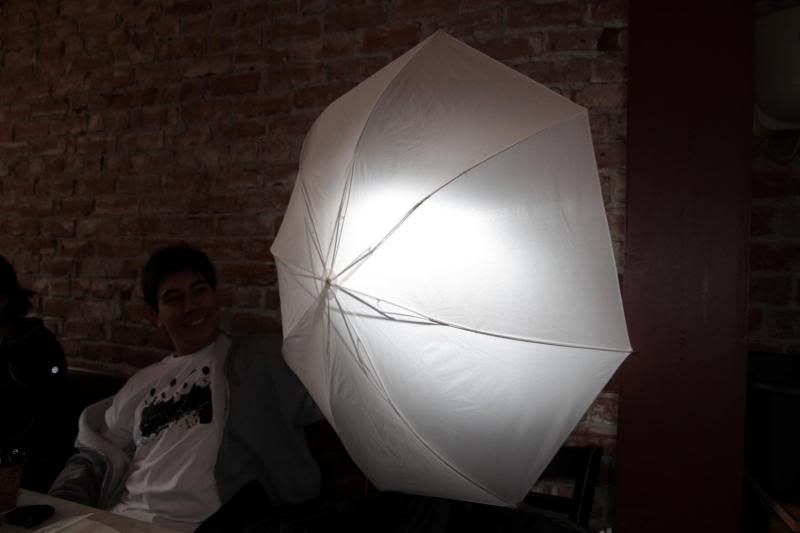
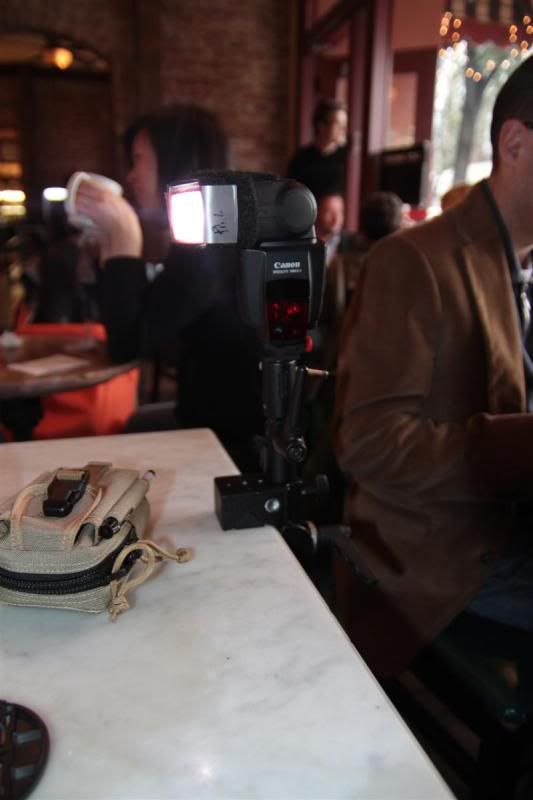
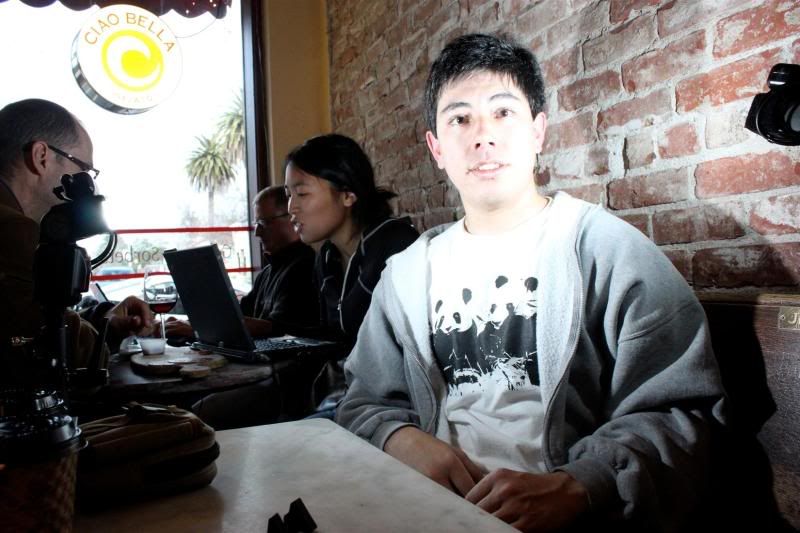
Here is the first set up. since I was on a bench, I noticed its construction was thin enough for me to clamp to it! I rigged up a super clap, umbrella bracket set up, and threw on my 43" umbrella with a 580exII. Just quickly setting it up, I surprised Margaret taking a quick and dirty photo. Most of she shots are just messing with flash exposure compensation. That is an auto feature provided with the TTL systems on cameras.

 
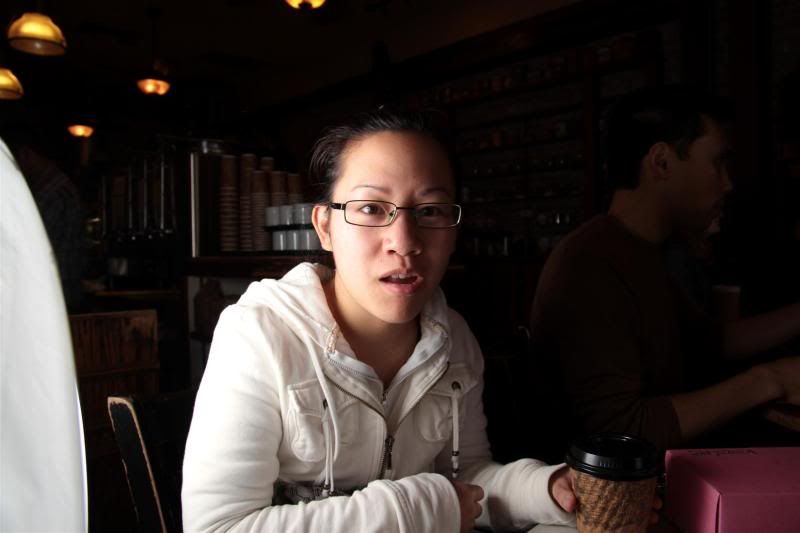
1/60 f5.6 ISO100

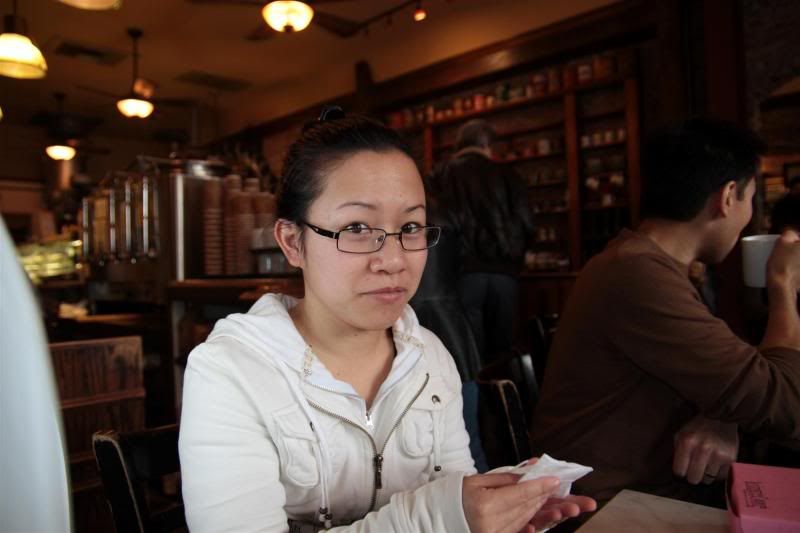
She found the difference in light amazing! I selectivity chose not to expose the background as much to show the effect on her with my umbrella. To give her an idea of what it look like if i balanced out my flash  I opened up to f2.8 and raised my ISO to 400 to allow it to quickly expose the background.


1/80 f2.8 ISO400

Next I  took of the rig from the bench and slight hand held the flash for the next few shots just to see what it was like to have show and tell about what goes on.


These next shots were just taking something as simple as a table, and if you have a clamp and a bracket you can pull off really neat looking lighting dynamics to your shots. I clamped my light about two feet away from me on the table to give me off camera lighting from the other side of my camera. Here is a pic of what that looked like.


Before the pink gel you see in the picture was added I took a shot to see what effect direct flash had on my friend. It was pretty fascinating the outcome! The next photo was taken with the pink gel added to alter skin tone for the fun of it!


 Next I stopped using my 580 in wireless TTL, because that didn't really give me control over my photo. So I took another clamp out, and put it on the bench again,switching to my two Nikon Sb's with triggers. Here I can tell you the powers that that is 1/32 power.

Test @ 1/50 f5.6 ISO200 PERFECT!!

1/50 f5.6 ISO200
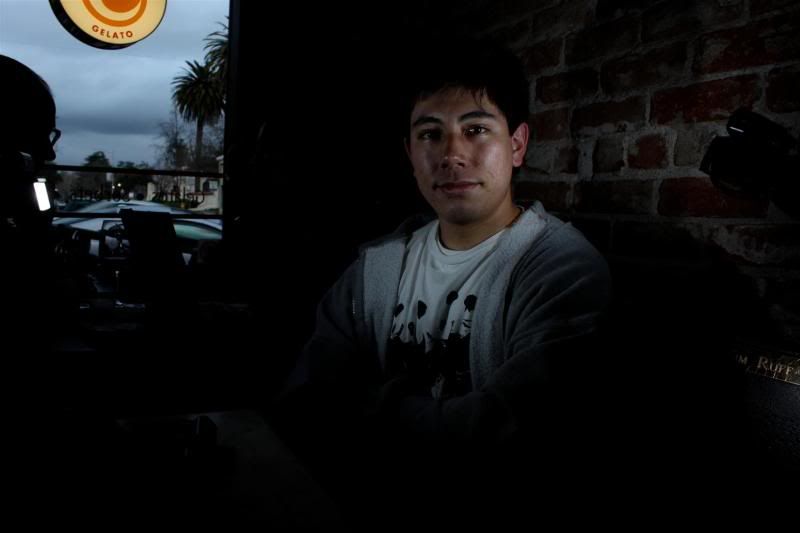
Tuning my transmitter over to Margaret, I ran her though how to get a good exposure of me using my lights angled at my face. I gave her a Circular polarizer to cut down on reflections.

One strobe on. 1/15 f8 ISO1600

Two strobes on. 1/15 f8 ISO1600

Told to cut down on the ISO!! I thought it was 100... 1/15 f8 ISO100 Now were are getting there! Just need to open the aperture more.
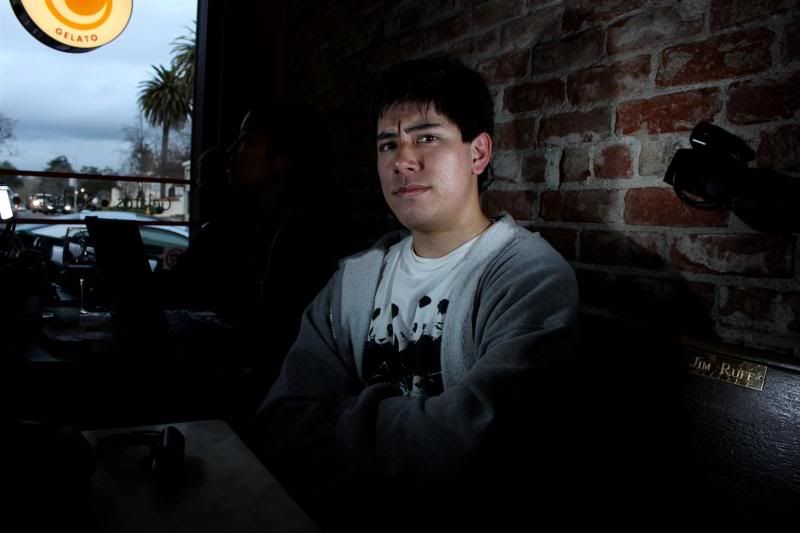
 Good exposure! 1/15 f5.6 ISO100

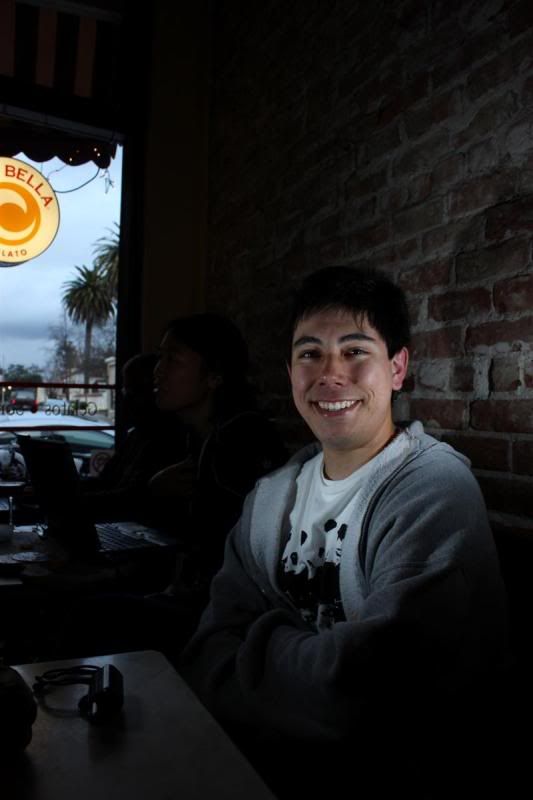
Now to pose. (I thought the first was too serious) 1/15 f5.6 ISO100

Geled the left strobe to mimick the gloomy outside weather. Its like an aquarium! 1/15 f5.6 ISO100

So this was a great mini session how to use flash! Great shot. Again I personally set up the lights to just do a headshot of my face. Exposing the background was user preference, but its pleasing to me with the shutter at 1/15. The flash guns were set at 1/32 power since they were so close. Aperture was set at 5.6 in the end but could of been smaller! The reason is because of the polarizer filter to expose though the window that can eat 1 stop of light. 

Stay tuned for next entry!
Friday, February 19, 2010

My First Online Gallery!
Hey all! I started myself a Zenfolio to show and allow themselves or other to buy and have a copy of their photo! I think its a great start! Explination of how I did some of these shots are going to come later!


Thursday, February 18, 2010

Wow another long period of no posts! But im still here!


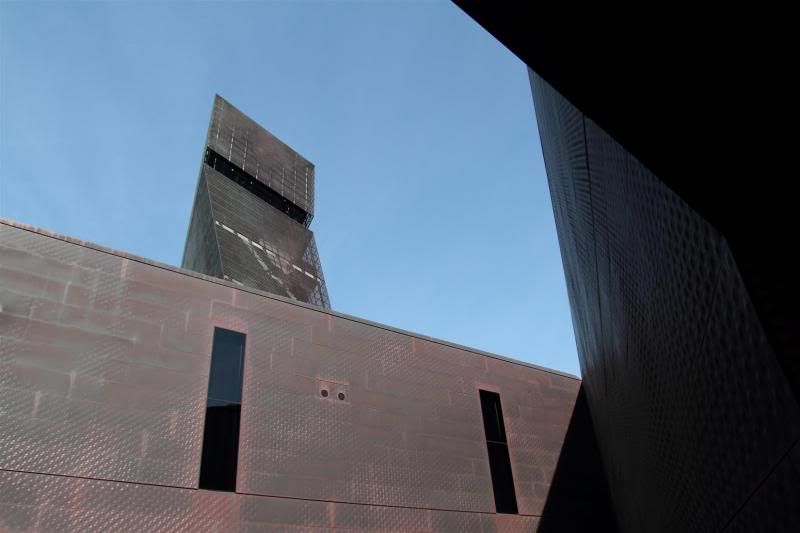
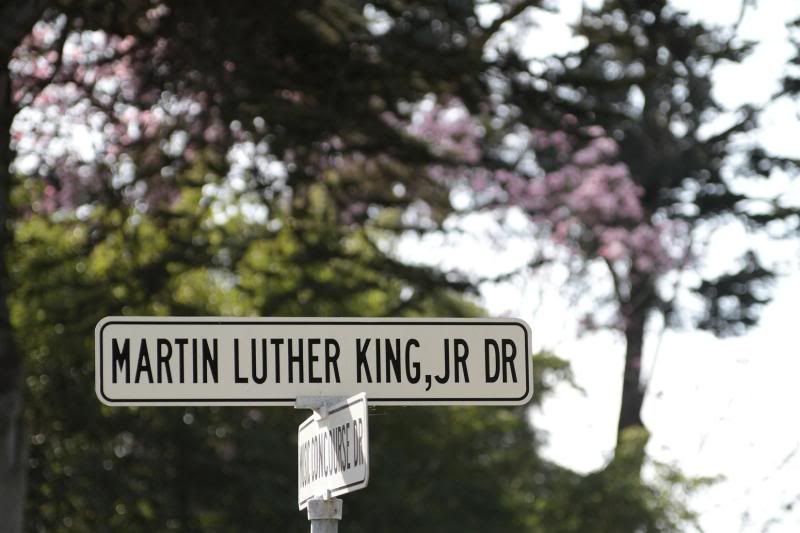
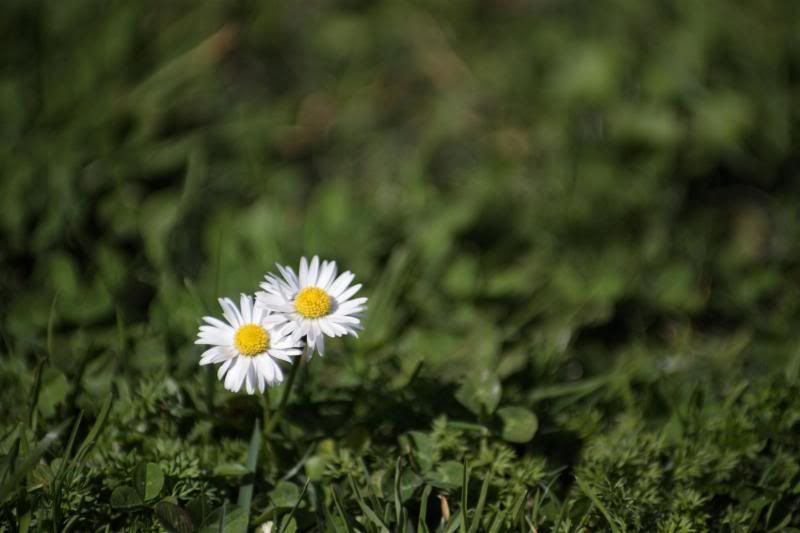
The month of February has posed to be a very, odd month for me. Classes are funky, job is a roller coaster, and photography has almost flat lined. Well, if you compare to how many posts that is, but NO!! I have been taking quite a bit of photos some for now are just private that is all, I dont have much material to post that is public! But sifting though my memory card I do have pictures when I went to SF. They are not strobist pictures, but the show the capabilities of what lens's I have being the Tokina 16-50mm f2.8 and the 50-135mm  f2.8. These are my workhorses for now and are proving to be quite good lenses from my older 28-135mm f3.5-5.6! Where these pictures were taken was at the San Fransisco Golden Gate Park. I was trying to see how good the focus is for long distance shots since most of my shots so far are up close! Check out my ability capture the scenery, capture detail, and isolate subjects!

DeyYoung Museum 1/320 f5.6 at ISO 100

 
Perfect for Black History Month 1/1000 f2.8 at ISO200

Flowers isolated and shot at 1/2500 f2.8 at ISO 100

 
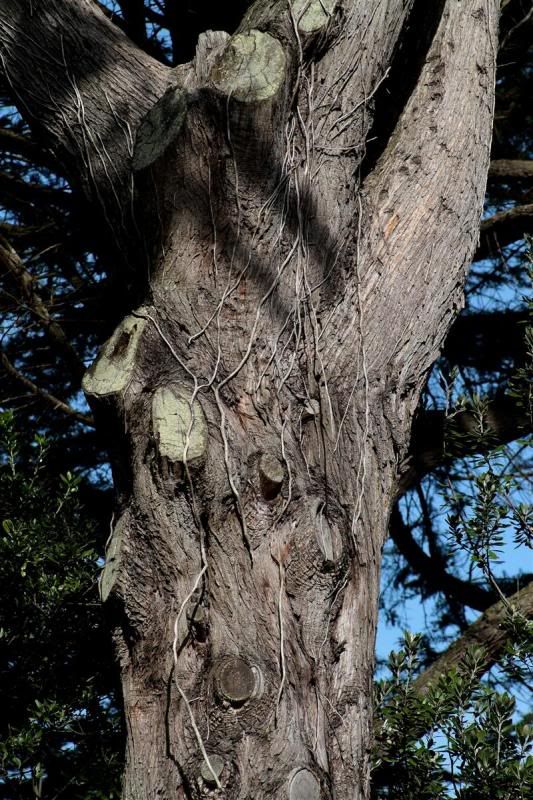
 Check out the detail! 1/500 f5.6 at ISO 100


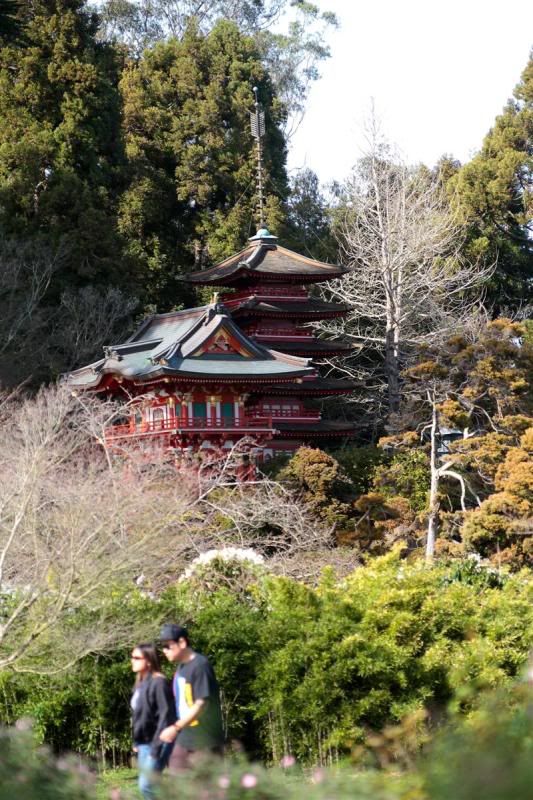
The buildings in the tea garden as I left shot at 1/400 f2.8 ISO100

Some bike photos will be comming up soon to show my work with action!