Wednesday, March 30, 2011

Raise it up!

Raise it up!

With flash these days some people ask how the heck do you actually get the light to not look so harsh? My answer sometimes is I am changing the angle of the light by making it really high. How high? Sometimes 20 feet high, or at least an angle that looks like it could of been 20 feet high. The reason for that how the light looks from that location because it might resemble a ceiling light, the sun, or if slightly above the floor its like a flash light in someones hand.

With that said, move your flash around or in this case, raise it up! Few things to take caution though is how high the stand is in the air. When it get to be a certain height just a small amount of wind speed can make your flash unit take a dive down south. To make sure that does not happen buy either a really strong sturdy steel stand that can hold allot of weight because that stand will in turn out to be a heavier than a regular aluminium stand. Thus weighting down your flash because you are overkilling the stability with that type of stand. Most of the time this isn't enough, so what needs to be done is you need to weigh it down. This can be accomplished from anything like your camera bag, a exercise weight, or a sand bag, or improvise but generally get a good amount that wont allow the stand to flex and rock too much in the wind. If you REALLY do not have any resources to be ingenious then grab a friend to hold that stand, at least he can correct the stand if it does start to deviate.

Give it a try for you next shoot if you have not done so already by using a decently tall light stand (at least 8ft and taller).

Thursday, March 24, 2011

The Use of a Simple 8x11 Sheet of Paper to Fill in Shadows

Shot With 8x11 Paper

Hey everyone! Today's post is going to be something that allot of new photographers who get into photography often times forget to think about and that is fill lighting. Here I will be using a 580exII triggered manually using a Pocket Wizzard system along with a Omni Bounce and a plain sheet of white paper for light modifiers. This combination is best used indoors or in situations where wind is not going to bother you, if that is the case kick the paper up to a piece of white foam board or something similar.
Fill lighting is any kind of lighting that isn't being done by your main source of light. There are so many ways a photographer can fill in shadows and here is how just a simple white sheet of paper can accomplish this! The reason I used the white sheet of paper is because it was accessible for one, its easy to mount with just a piece of office tape, and if you want to fold or manipulate the paper it is easy to do because of how light weight the paper is along with how stiff the folds can be.

The Set Up Without Flash for 8x11 Paper

Using a omni bounce as my main light it makes my 580ex act like it is a bare bulb flash unit. The paper slightly being behind the flash is acting as fill and isnt at an angle that reflects light in one area instead has a gradual effect if you notice on the paper. For other effects of using this method I could always rig up another piece of paper some how and change the angles of them since they are after all white reflectors.

The Set Up with Flash 8x11 Paper

The look without the paper is really not that attractive to me. The reason is because my subjects eyes are in shadow because I have my light so high up in the air in relation to my subjects face. Again to kill that look, that is where the simple piece of paper comes in!

Shot Without 8x11 Paper

The end result is an elimination of the shadows on the face, a little more light on the clothes and softened the shadow edges on the back wall.

Shot With 8x11 Paper

Give it a try! It really does help if you hate pesky shadows!

Thursday, March 17, 2011

The use of a Super Boom and a Small Octa.

Hey everyone! Long time since I posted here! This is greatly due to the advancements I have been making to have a legitimate photography business and....I post random photographs on Tumblr and they explain themselves where this blog I go into more detail.

This time I will be talking about my smaller 3 foot Octabank and how I use it. This model is made by Photoflex; their offerings are decent in quality in quality and their modifiers are  reasonable for the price. Even their MSRP are great for these modifiers so go and try them out! These things can be had also online for cheap if 2nd hand, but really for a new modifier is worth it since Photoflex modifiers get really wrinkled too when packed up many times!

Octa set up

The neat thing about an Octa is that you really cant go wrong with a photograph. It offers clean even light because of the shape, its a roundish box without hard right angles to deal with. Unlike squares or rectangles that generally have a large hot spot in the middle and an octa minimizes that with the shape and layers of diffusion. I still use them allot, but they are  tricky to use head on, so feather the light! There is however still a hotspot on a octa, but not as strong as something like a rectangle so dont think you are off the hook for that! This is accomplished by two panels of diffusion along with the circular shape. The one outside is the 2nd layer you can see while insider theres an inner layer that is graduated to even out the light. The inside of the new Photoflex Octabanks have Velcro inside of them to use inserts of silver or gold! that can creat a more specular source that is intense if using silver, or intense and warm using gold You can mix and match to what you like! I also sometimes shoot without the front outer diffusion layer to turn it into a large white reflector! Pretty neat trick! It can be similar is performance to a beauty dish, but it sure isnt one!

To effectively use my Octa I position it to use it as a main light. Gernerally for me its used slightly abolve the head to cast down a shadow on the face:

Octa above

To minimize the effect I use a large reflector under the subject or to the side to evenly fill in the shadows since the octa is throwing even light to begin with. This is the result:

Octa with Fill

Thanks to my brother for helping out! Go try and use an octabank and see what you can do with it!

Wednesday, February 16, 2011

Tumblr! Follow me there!

Hey all! I now have a Tumblr and will be posting some picture there along with my blogger. So whatever your cup of tea maybe for getting your information, ill be posting on these two channels.

Check it out!:

http://highercontrastphotography.tumblr.com/

Sunday, February 13, 2011

Dancers Photo Shoot Feb 2011

Dancers Photoshoot Feb 2011

Recently I had the first opportunity to shoot a group a dancers and MY GOODNESS THERE SO MUCH ENERGY! From lively music to people flipping, kicking, popping, and grooving to the beat made this event memorable! Here I had a pretty crazy light set up brining out my Bowens Quadx pack to share with other photographers to share my techniques! With so much power at my disposal I was nailing shots so much it literally dazed the dancers! So a note to you guy who are wanting to do something like what I can pull off, give the dancers a break and try to time yourself like they are to the beat and get those stunning moves!


Here is a photograph of how the set looked at one point:
The Set of Dancers Photoshoot Feb 2011

Doing this event was really fun for me and I got to laugh allot and work one on one with actual dancers to pull off shots. Simply put, we set up a large cardboard mat that is perfect for break dancers to pull off their stunts while its something contrasting with the actual cement ground to give a neat look.

<Dancers Photoshoot Feb 2011

Each dancer got their time to bust moves on the dance floor while photographers of all kinds got a chance to capture their style of dance. Each session is about less than 30 seconds so shooting is fast! Snapping shots at critical moment to convey the movement they are doing. For this shoot I wanted to freeze them in their element. This gave many times a dramatic look especially for those who were performing martial arts moves!

Falcon Kick!

540!

Other than serious martial arts moves the goal is to have fun and be yourself. For myself, the opportunity for me to use new techniques such as mixing and matching equipment was a treat! Sharing it was fun as well letting some of the photographers who were willing have the opportunity to use my professional lighting equipment. What was neat to see is that other dancers were getting interested dancers some dance lessons to try a new style. Really fresh stuff for me to see and a relief from all the model shoots and car shoots. This is really fun stuff and appears ill be doing more!

He can do it, just needs help.
Dancers helping out one another. Really funny stuff at times!

YO!
Giving my camera some love after doing a routine!

Group Shot of Dancers Photoshoot Feb 2011
Some of the group for the shoot:

Group Shot of Dancers Photoshoot 2 Feb 2011
Some posing I really dont know what i was doing... But it was fun!


If you are a dancer or knows someone who wants to have something like this I would love the opportunity to do this kind of photography again! Really fresh stuff for me to try out finally! Let me know from my website or facebook!

Thursday, February 10, 2011

It Has Launched!

Okay! Now the site is up to show the internet what Higher Contrast photography is all about! :-D

The website itself is :

http://www.highercontrast.com/

The Flikr photo stream about Higher Contrast Photography is here:

http://www.flickr.com/photos/58804969@N08/

If you are a Facebook kind of person the link to the group can be found here:

http://www.facebook.com/pages/Higher-Contrast-Photography/160193860700038

And soon there will be a twitter to complete the mix of links!

Keeping you all posted!

Tuesday, February 8, 2011

The Launch of my New Website is Comming SOON!!!!

Yup! I am finally kicking it up a notch and going to have my first ever online web site!

The purpose of it is going to pretty much be like any other photography web site. It will tell people about me, what I do, and most importantly give examples of my work. This is the biggest thing that I been noticing as a shift in the photography world is clients continue demand a portfolio, but they dont want to take the time to see a physical one because of available time and their own personal reasons. This to me ushering a new era of window shoppers for professional imagery. So essentially my web site is now a digital store front for people to gaze into my online workshop and ponder if they want to have something created!

As for my site my photography will be known as Higher Contrast Photography done by yours truly, Robert Adams. Ha, its times like this when I think about the names my parents given me since birth and how "powerful" it kind of sounds since Robert Adams is such a common name. So common in fact there is over 5 photographers with my name that do photography! Therefore the catchy name oh Higher Contrast is the way I will be remembered!

Check later this week for the launch of my site on Thursday and check its progress, evolution, and links to other things about me and my work!

http://www.highercontrast.com/

Wednesday, February 2, 2011

A Commercial shoot of a VW for my portfolio.

IMG_9021

This was a fun for me to photograph a car! But there is one thing you got to make sure, and that is to bring you friggin camera! When I did this photoshoot to help my portfolio, out of all things to forget for the first time is the camera! If I missed out on a light or two, that would be okay since I could improvise where as the camera is the star of the operation! Well, besides the talent behind the viewfinder holding down the shutter button! So after getting stuck in traffic to pic it up and embarrassment I am for sure not going to forget it!

This shot was done at sunset, and that is ideal time for me to take sun photographs. Most of the time I have taken night shots since I had no opportunity with clients in the day due to an hourly job I have and my education, but this time I made arrangements to make this possible to spice things up instead of constant night shots! This totally means more creative locations are going to happen at least for my automotive and motorcycle photography!

What I did is expose for the sky and fill in parts of the car flash by flash to coat the car with an even amount of light. I chose eventually to expose more for the sun, since im shooting right at it. For the flashes, using all of them is way to complicated and confusing so I work my way flash by flash to craft this photograph. The rest is mostly editing to make sure the car looks clean and pulls off the commercial look.

So far the client is satisfied and I will be getting more jobs in the future! Sweet! I will keep you all updated!

Saturday, January 29, 2011

rx8

The start of the updates once again? You bet! What now?! This time it is one of my old favorite things to photograph and that is cars!

This yellow RX8 belongs to a old friend from my early years of college. He has light modifications to this car and is greatly cosmetic. Its a head turner though and its is seriously low to the ground! After having a bowl of soup at a local restaurant with him, I asked if I could photograph his car and boy did it turn out good!

This shot was allot of editing, about 2 hours to be exact since its allot of tweaking of color levels and exposures.

The location is kind of odd, and the one thing i dont like is the huge flare or star like projecting rays out of the department stores perimeter lights they had. There is nothing much I can do about them but I could have covered them up physically with some sort of scrim or block it completely...but then that takes allot of time and effort after you had a good dinner! I dont easily get discouraged to create a photograph because of how pleasing the background and you should too!. A picture taken is a picture had, and  at the time we were not willing to spend 2am hunting down a fantastic location to shoot. The trees are a nice touch and i personally like the way i framed them in relation to the car, but always look for more angles. But as for picking a location, just roll with it! For things that are informal such as a car shot in the public with a friend, you cant be too picky when other places security could hassle you at your 2am photoshoot!

Keep in touch everyone!

Tuesday, January 25, 2011

Im BACK!!!!

Hey everyone!

Start of my blog once again just for 2011! Ha no, not just that, its also because I am going to be starting my web page for the new beginnings of my photography business and here is one of the first entries for the year!

Here on this blog now you will see updates of shoots I have done. It wont be a full blown gallery, but probably a good pictures that descries the day.

Besides the updates of shoots, I will still be giving out some advice on how to use your camera to take good pictures! Stay tuned for all the gear stuff I will be posting up again!

The new site will be posted up soon! Allot of bugs need to be worked out along with a new logo so it will be a while till this is done!

Horay for new beginnings!

Thursday, May 20, 2010

My First Time to Get a Sunset Background

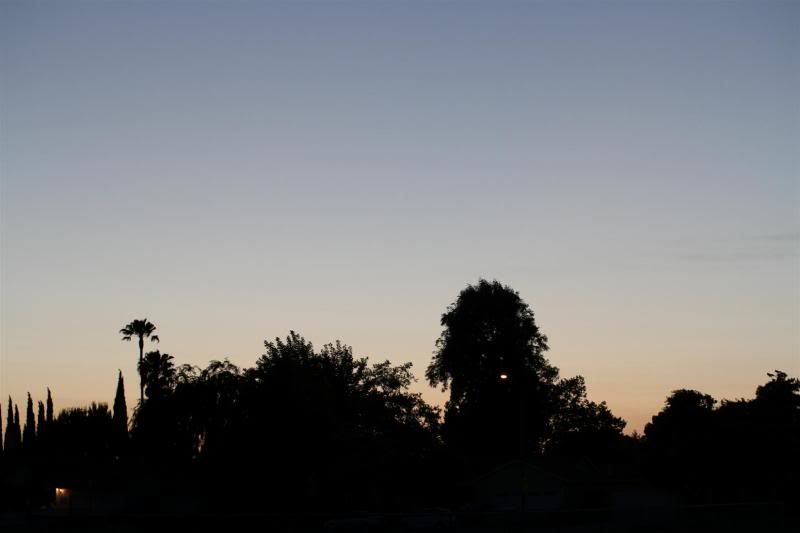
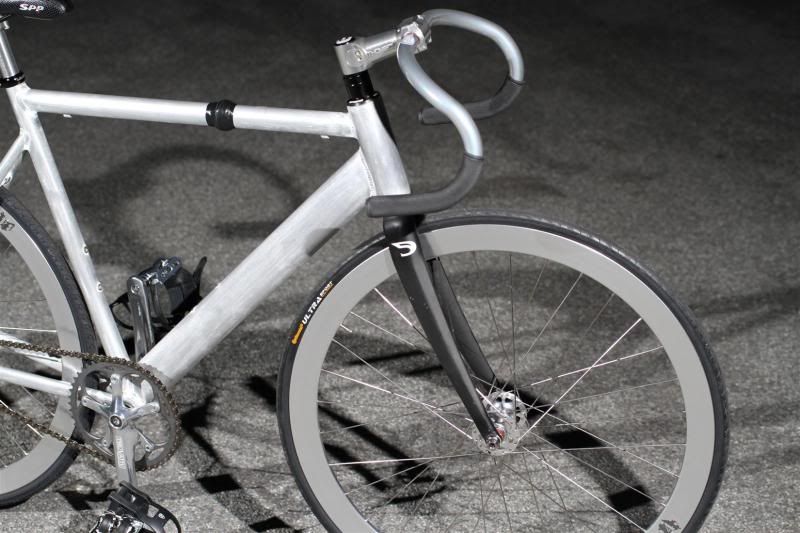
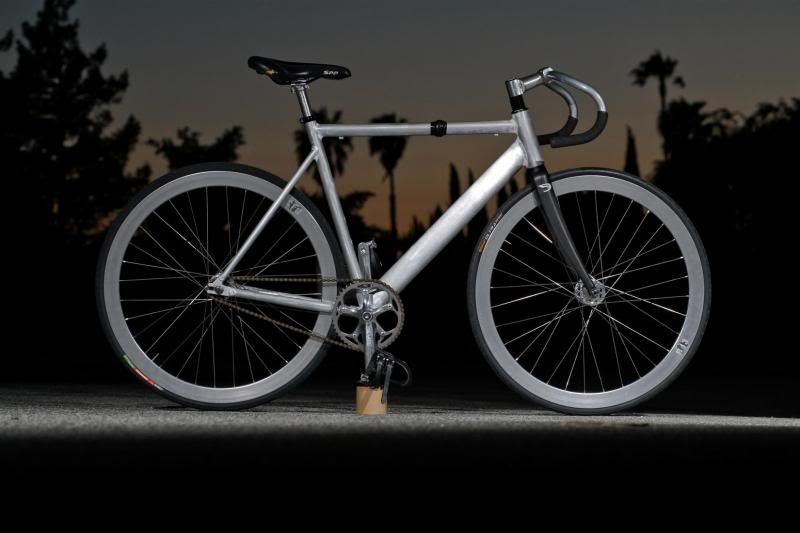
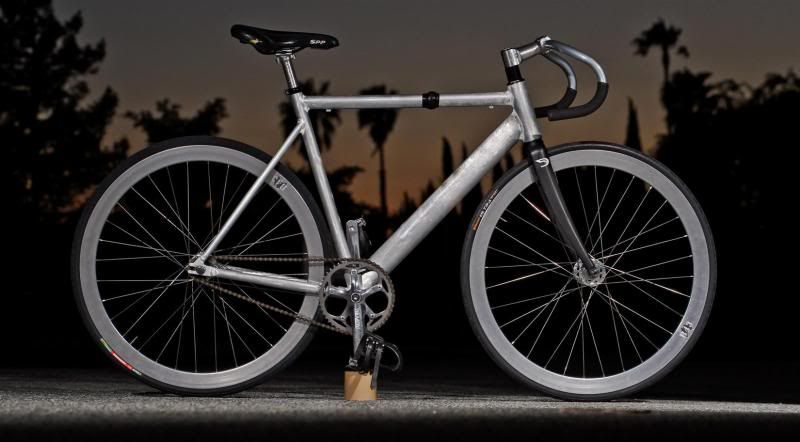
Hey everyone! This is a post in a long while and that is because I have a new bicycle! Well not really, I built it myself from old parts that people didn't want anymore, but to make it work for the blog I had to take a decent picture of it. And that is what these pictures are, just decent. I really not thrilled by these pictures because I waited too long for the sun to set and it did not give me colors I wanted. Next time I shall try again, and take pictures of a longbaord that I also purchased! But for now, this is a nice pic for me of my bicycle.

First thing I did was take a test shot of the sky on "P" mode on my Canon to find out where the sky was reading at on my camera. I then took these readings on the manual and tried to photograph my bike quickly before there was no sky left to use as a backdrop on my bicycle!
1/125 f3.5 ISO 400 (forgot to change ISO for the test)

Here is a shot of the bike with the flashes set at about 1/2 power. I ended up shooting the bike at 1/16 power but should of angled the flash head differently to prevent unwanted highlights. But hey, this time I was scared about losing the sky in my picture, so I tried my best in the time I had left.

The set up was with two bare SB-28DX's aimed at my bike from the cameras left and right at about 45 degrees slightly higher than the bike.  Next time with better sky I will show a set up perhaps of this.

1/125 f3.5 ISO 400

Here is the shot with the aperture closed down a little and strait from the camera. After editing a little bit I got some more warmth into the picture as well as detail that was lost from the flash on the cameras left side on the bottom tube of the bike frame.

1/100 f5 ISO 400 Note: Original

1/100 f5 ISO 400 Note: Edited

Remember to find appropriate reading to take a sun set photo. You have little time and because in a matter of setting up for 5 minutes has lost me allot of my background. Also mind your highlights on your camera, turn the warning on so you can easily see if what is going pure white is worth losing in the photograph. This is something that I have learned and now going to improve the next time I take a shot like this.

Keep watching to see what else I do with my camera!

Sunday, May 9, 2010

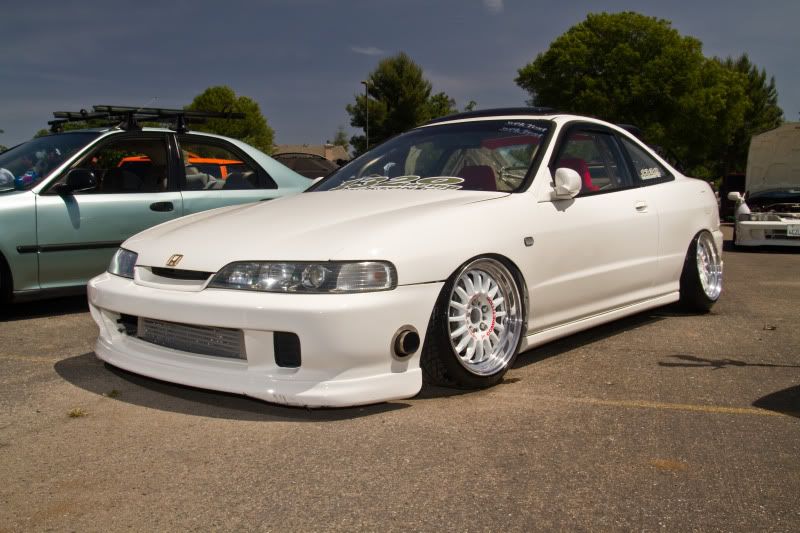
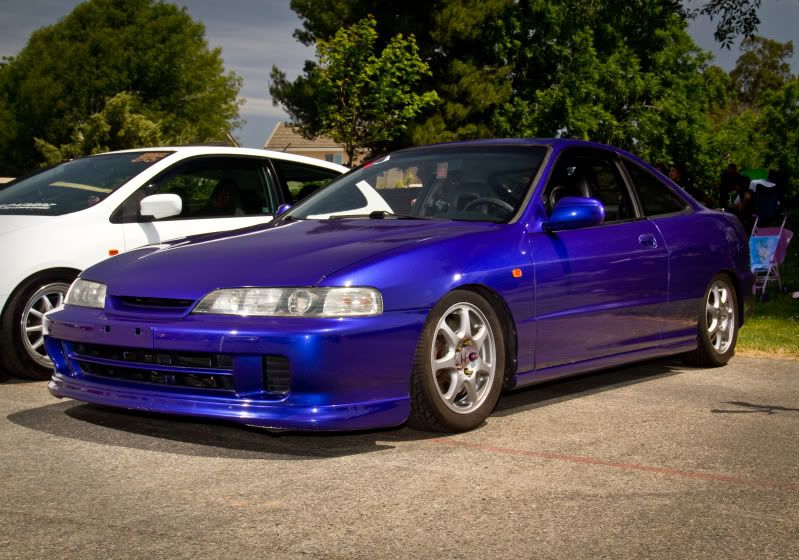
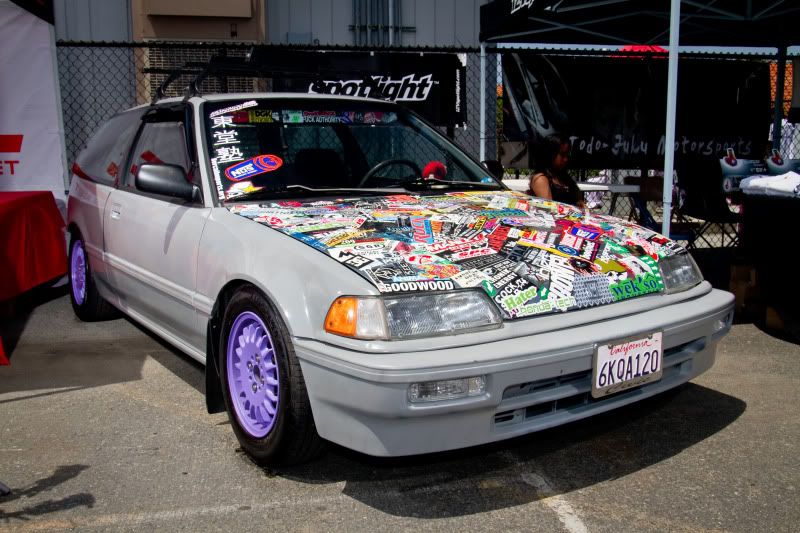
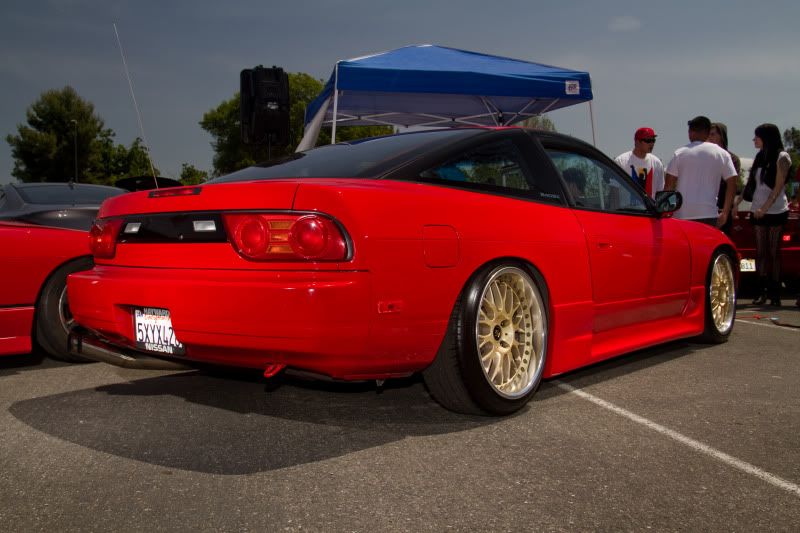
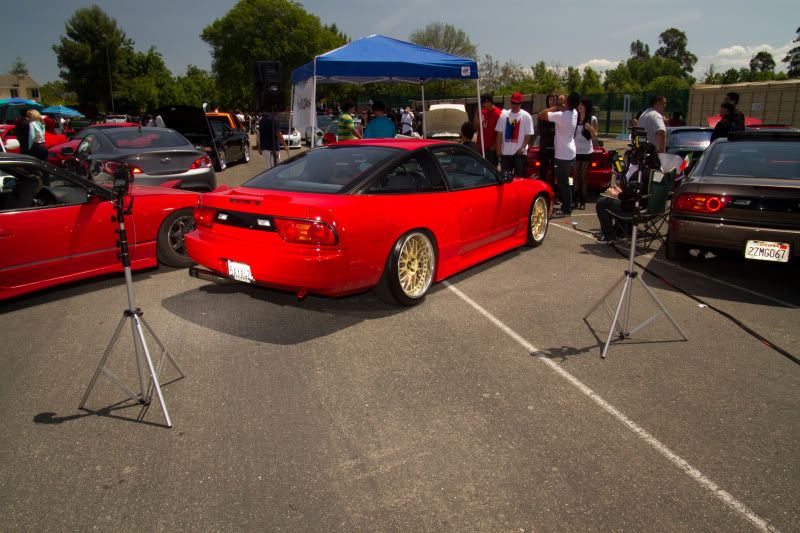
Yerba Buena High School Car Show

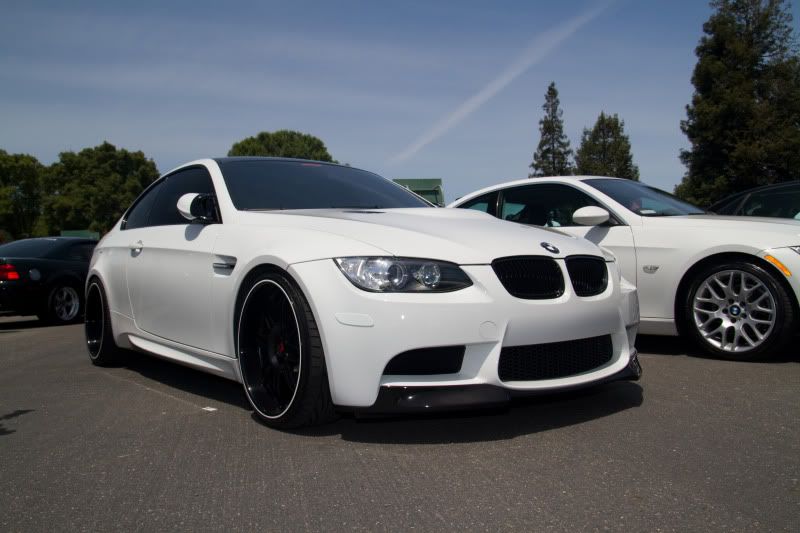
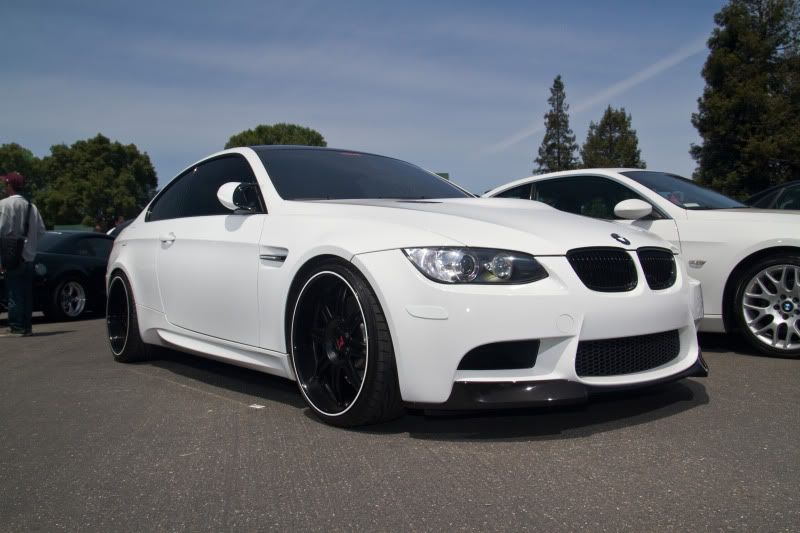
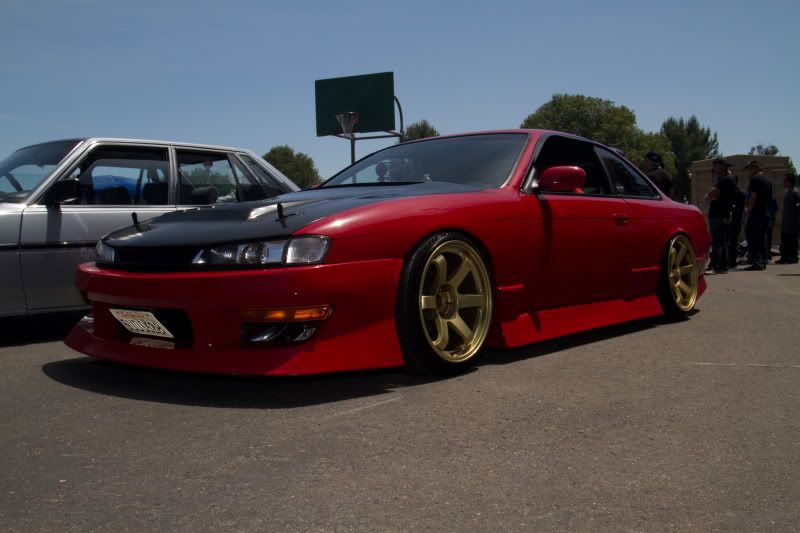
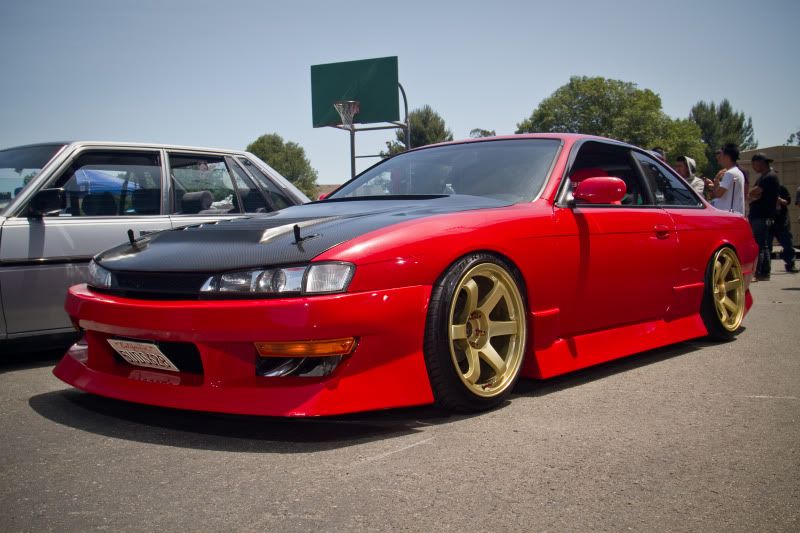
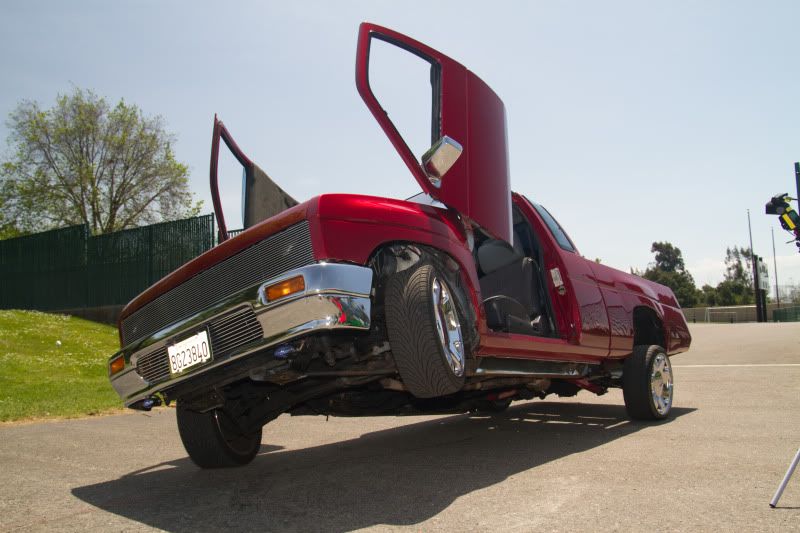
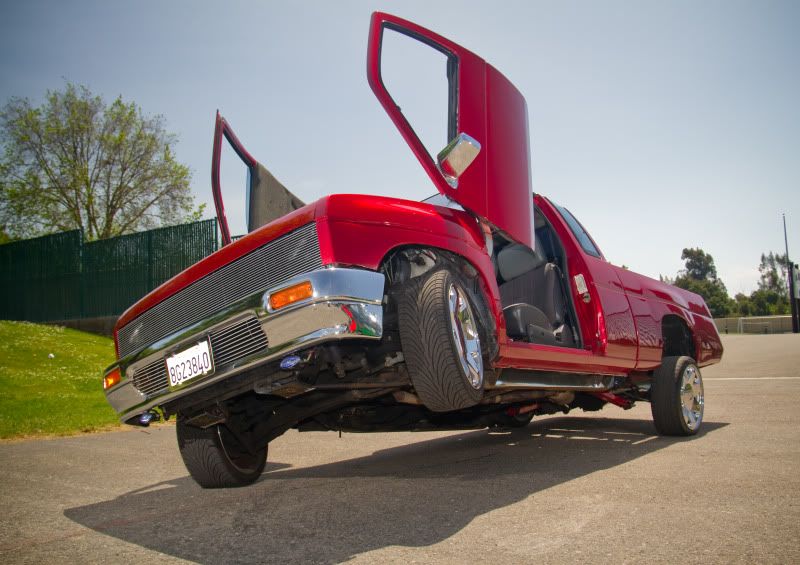
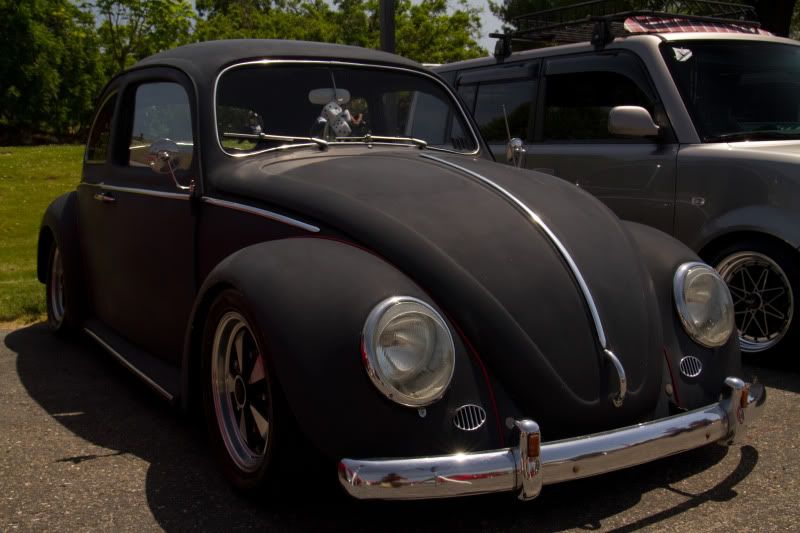
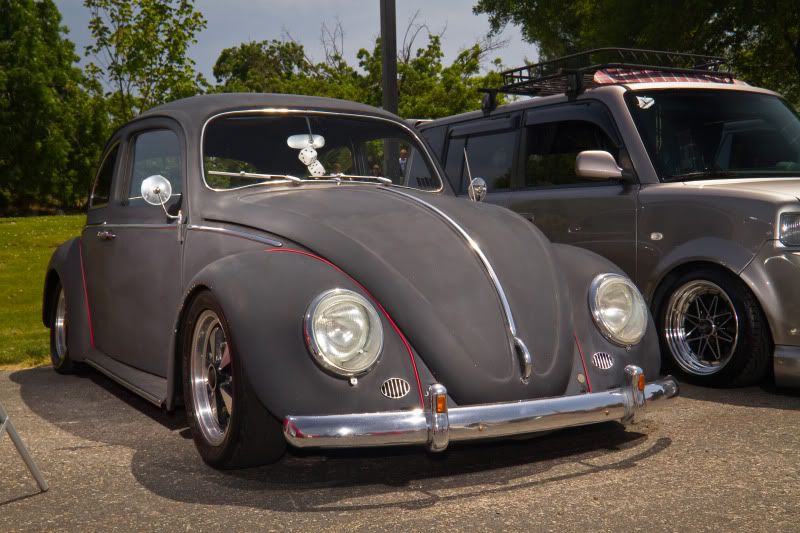
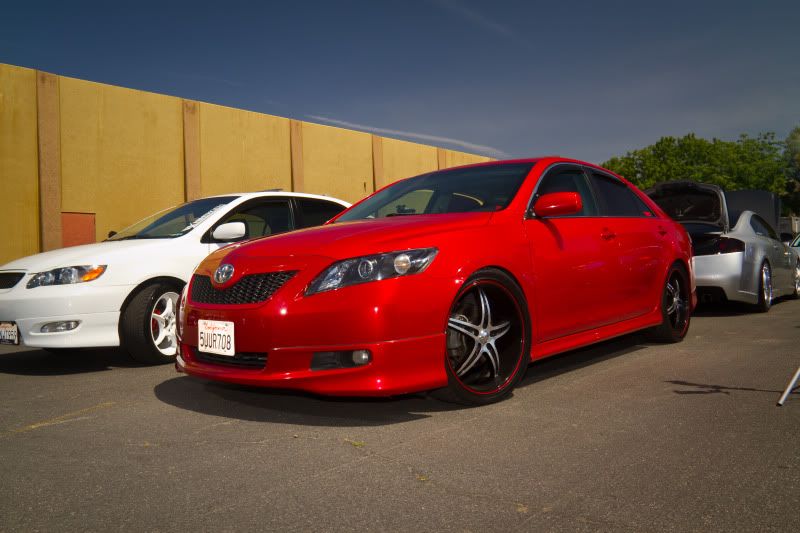
This was a neat show that was local in my area that I thought would be great to try more speedlight strobing. This time I thought it be proper to show some examples with and without strobes. Again I still need to use more, but I only have so much gear and my images will improve with more investments. Its hard to talk about flash power used because its constantly changed to try and balance things out so if any of you try doing this its the understanding how to take the power of a flash and mold its light output to make something stunning. By all means some of these pics are not the best but they are a step forward. Check it out:
1/250 f9 ISO 200 Note: using camera flash

1/250 f9 ISO 200 Note: Using all flashes

1/60 f14 ISO 100 Note: No flash

1/60 f10 ISO 100 Note: With Flash

1/100 f9 ISO 200 Note: No flash

1/80 f8 ISO 200 Note: With Flash


1/100 f11 ISO 200 Note: No flash

1/100 f11 ISO 200 Note: With flash

1/100 f11 ISO 200 Note: No flash

1/100 f11 ISO 200 Note: With flash
1/125 f14 ISO 200 Note: No flash

1/125 f14 ISO 200 Note: With flash used hood as a light source

1/125 f11 ISO 200 Note: With flash

1/100 f9 ISO 200 Note: With flash

1/100 f11 ISO 200 Note: With flash

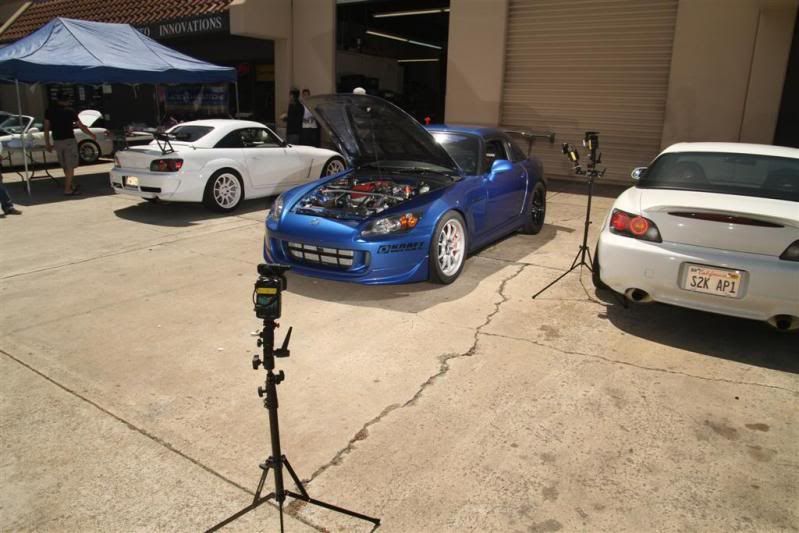
Example of a set up at this event:
1/160 f9 ISO200
To produce this picture:

 1/160 f9 ISO200 Note: With Flash

 1/80 f11 ISO200 Note: With Flash

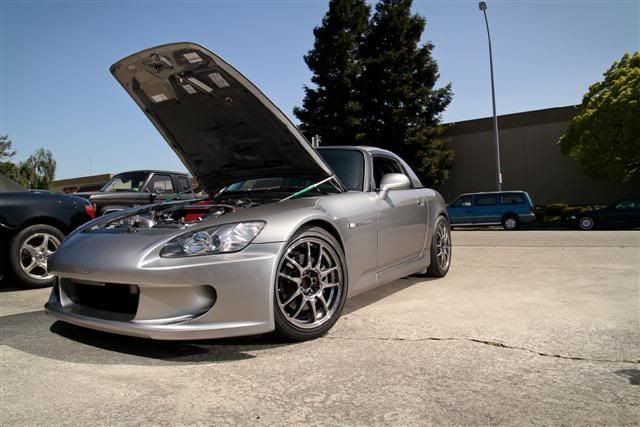
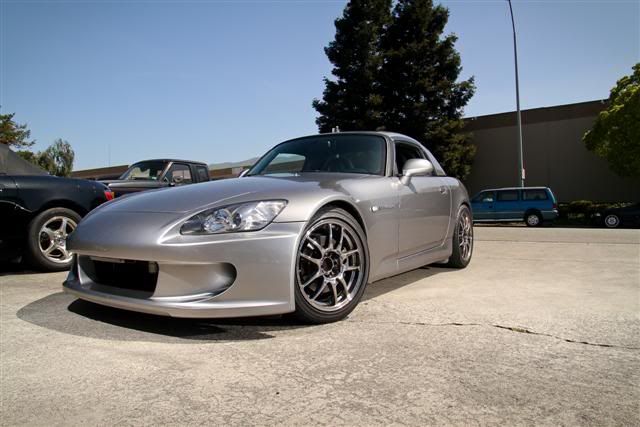
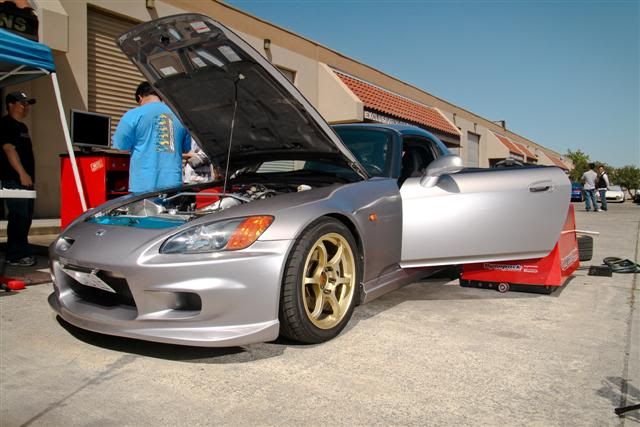
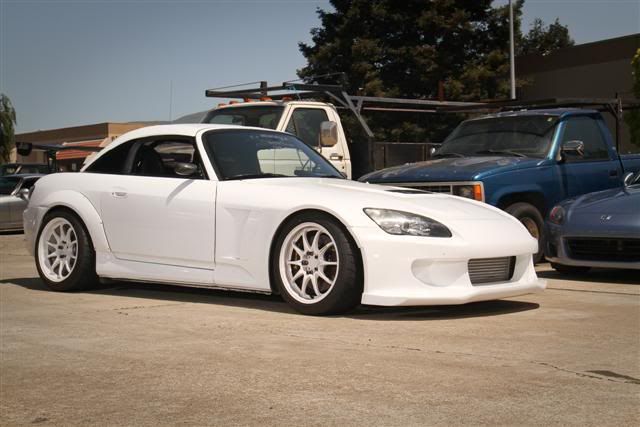
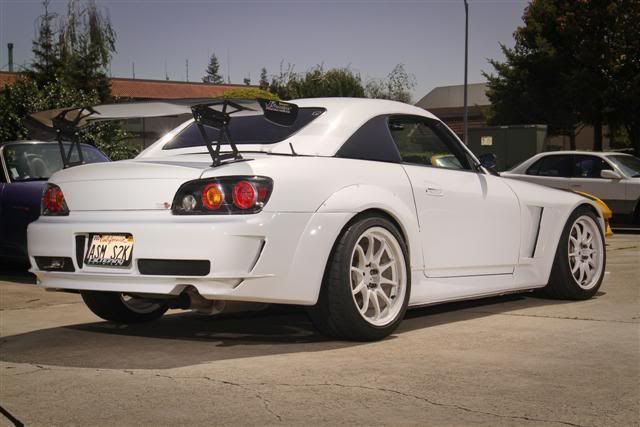
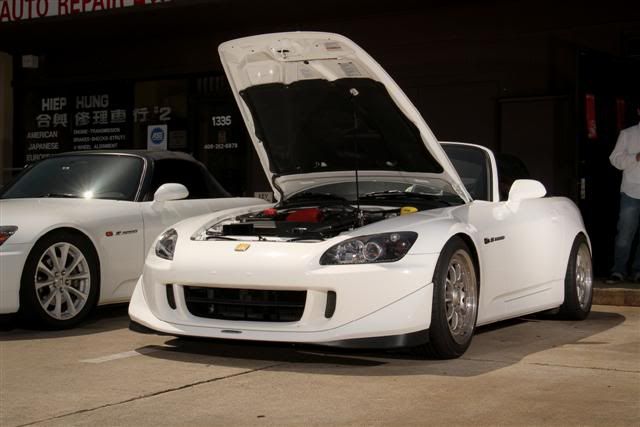
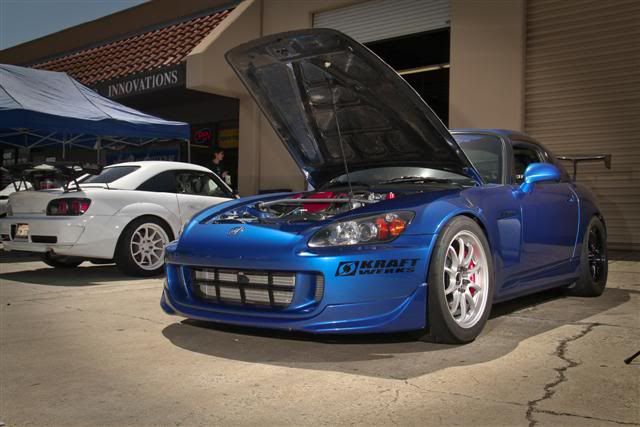
Old Pics of Honda S2000's with 4 speedlights

On April 25th I had a surprise invitation from a local photographer and S2000 owner about a meet in the bay area for just the Honda S2000! After having my new flashes for little under 2 weeks by then, I had to give it a shot. These were some of the first tests using these flashes to try to Highlight and fill in certain areas of a car.

Total flashes were used was 4 comprised of 3 Nikon SB-28DX's and one 580ex on my camera itself. All the shots were using direct flash. With harsh sun, it work with me to light up a car. The technique is to take a picture of the car and then use the flashes to fill in areas that you think need some help with more light, and hopefully you know what to look for and you got a picture.

This is the some of the first attempts I have had using these many flashes, and honestly I need more but that is ok since I have 6 Nikon SB-28's. With this kind of light set ups and using them directly to make them cover large areas I have to move them back from my subjects and zoom the flash head out. Sadly these small flashes cant compete with the sun, but they could in key areas like wheels and grills, and other tight darn areas. In general most of my flashes are zoomed to the widest being 24mm and putting them as close as I can to the car to make use of them without them being in the frame. Currently I still don't have Photoshop, so sometimes a light stand leg get in there, but that isnt much a problem for me since this isn't for something in return so I can take it easy. The Nikons generally fill wheel areas while another hits the front then I try my best to use my 580ex to fill in more areas that the Nikons miss. Check out the results from my first attempts!

1/250 f8 ISO200

1/250 f8 ISO200

1/250 f8 ISO200

1/250 f11 ISO200

1/250 f11 ISO200

1/250 f11 ISO200

1/250 f9 ISO200

 One example of light set up.